> ## Documentation Index
> Fetch the complete documentation index at: https://docs.florists.digital/llms.txt
> Use this file to discover all available pages before exploring further.
# Creating an Event
> Step-by-step guide to creating a new event from an enquiry.
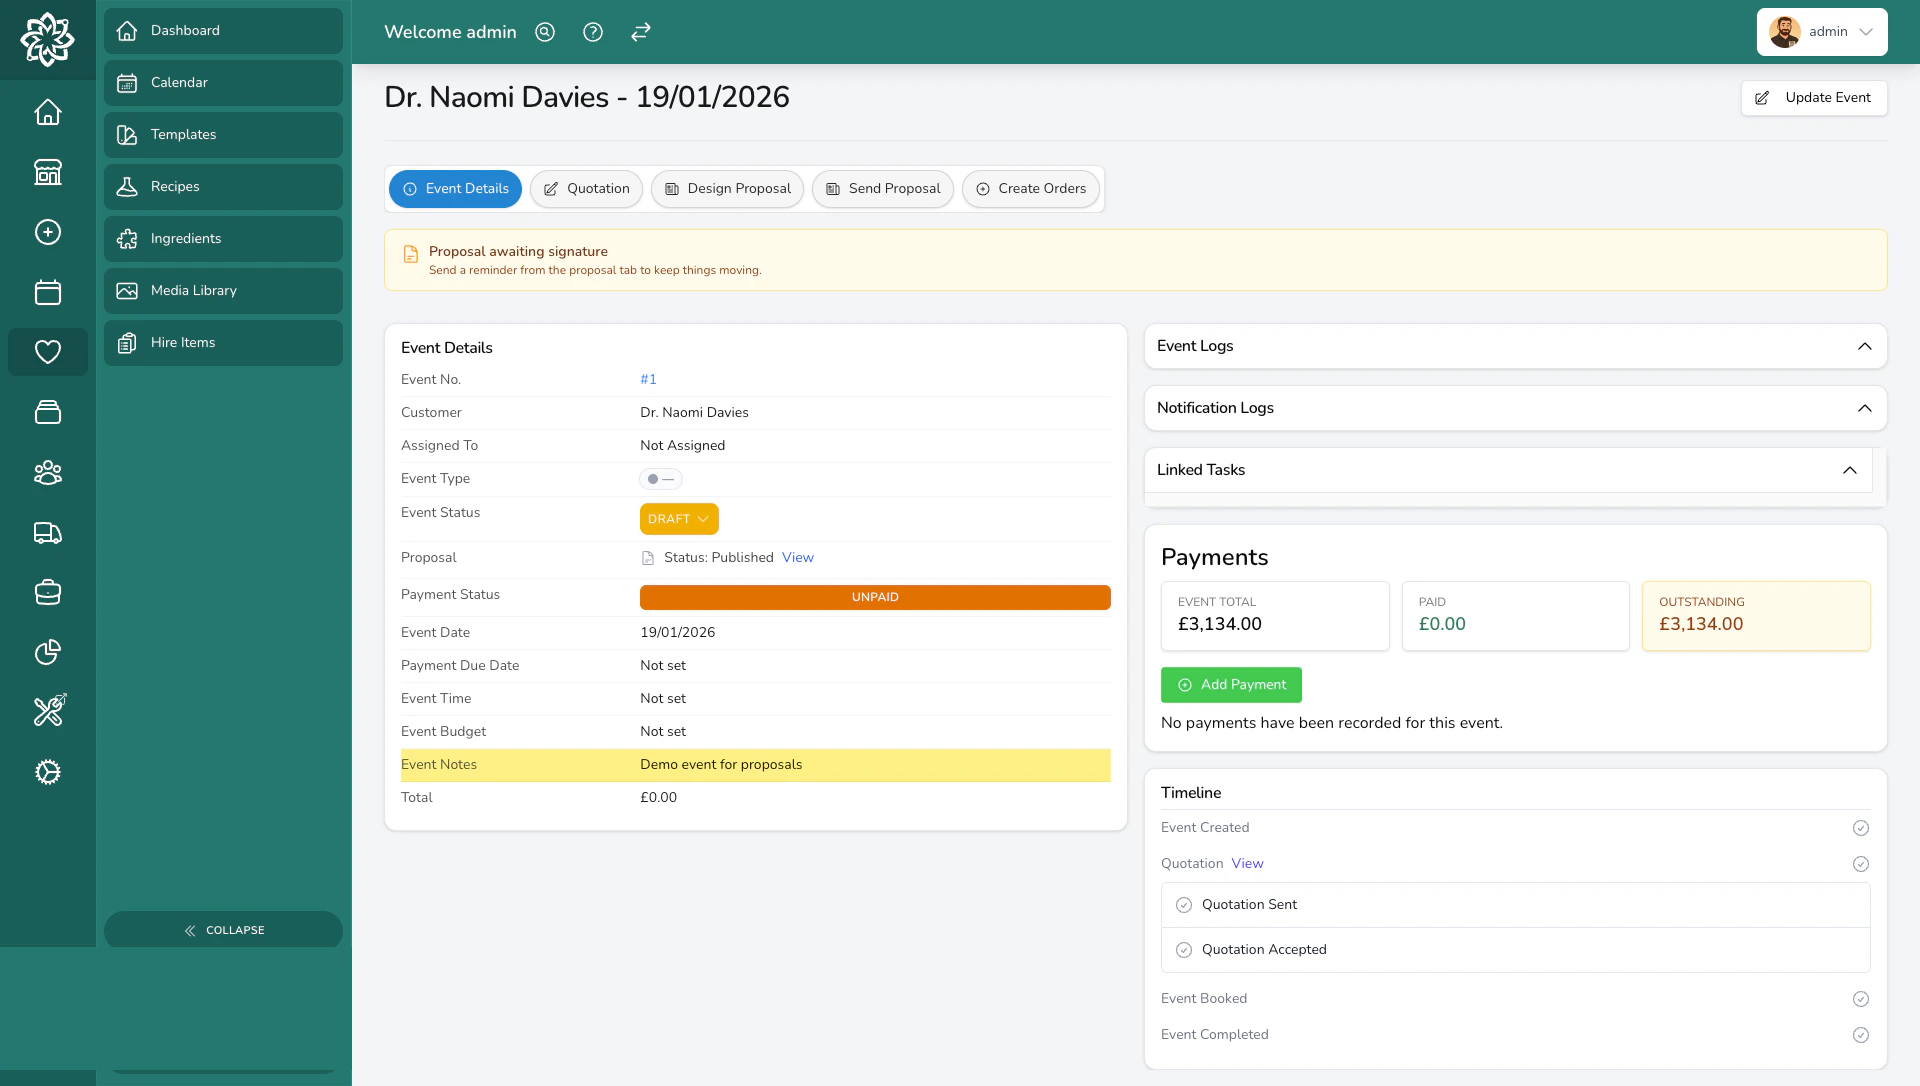
**Creating an event is the first step in managing a wedding, corporate function, or any large booking.** You'll record who the client is, where the event is happening, and what they're looking for so everything is in one place from the start.
 ## Starting a new event
You can create an event in two ways:
* **From the events dashboard** — click the **Create Event** button to start with a blank form.
* **From an enquiry form submission** — when a customer fills in your online enquiry form, their answers are carried over automatically. See [Converting Enquiries](/events/converting-enquiries) for the prefill flow and the Enquiry guide sidebar.
## Filling in the event details
Start typing a name to search your existing customers. If this is someone new, you can create a customer record right from the same screen without leaving the form.
Every event needs a **lead contact** — this is the main person you'll communicate with. You can also add additional contacts and label them by their role (bride, groom, parents, coordinator, or a custom label).
The lead contact is always pinned to the event and cannot be removed.
Add one or more venues for the event. For each venue, enter:
* **Venue name** (e.g. "St Mary's Church", "The Grand Hotel")
* **Address**
* **Guest count**
These venues become your delivery addresses later when you create orders, so it's worth getting the details right now.
Fill in the key information about the event:
* **Event type** — choose from your configured event types (e.g. Wedding, Funeral, Corporate). Custom types can be added in Settings.
* **Event date** and **time**. Tick **No specific time** if the timing isn't confirmed yet.
* **Payment due date** — auto-calculated a set number of weeks before the event (12 by default). Override it on this event if you need to, or change the default for every future event in **Settings > General**, under the **Events** group, using **Payment Due Weeks Before Event**. Changing that default needs the **Settings (Admin)** permission, which Admins have by default; your administrator can adjust who has it in [Settings > Team](/settings/team).
* **Season** — tag the event with a key seasonal moment (Christmas, Valentines, Mothers Day, Easter). This is a label for your own reference, and it prints on the event invoice. It does not adjust prices or check stock for you, so build any peak-season uplift into your quotation yourself. The [Apply percentage adjustment](/events/quotation-templates#yearly-price-updates) tool is the quickest way.
* **Event budget** — pick from preset ranges or choose **Custom** to enter a specific figure.
* **PO number** — an optional purchase order reference. If you add one, it appears on the event's invoices, which is handy for corporate or trade clients who need a PO on their paperwork.
Use the notes field to record anything from your conversations — style preferences, inspiration references, special requests, or important dates to remember.
Use the **Marketing** panel to track lead sources and partners:
* **How did you hear about us?** — a free-text source (e.g. Instagram, Google, Referral, Wedding Fair).
* **Suppliers** — other vendors working on the event (e.g. photographer, videographer) that you might partner with.
Once you've filled everything in, save the event. It will be created in **Draft** status, and any automations you've set up (like sending a welcome email or notifying your team) will fire automatically.
You don't have to fill in every field straight away. Create the event with the basics (customer, date, and event type), then come back to add venues, colour notes, and other details after your consultation.
## What happens after you create an event
Your new event starts in **Draft** status. From here you can:
* Move it through the event lifecycle as you consult, quote, and confirm
* Build a proposal with itemised pricing
* Schedule consultations and add them to your calendar
* Create orders when the event is confirmed
Any automation triggers you've configured will also run when the event is created, such as sending a confirmation email to the client or alerting a team member.
## Common questions
Yes. You can add, edit, or remove contacts and venues at any time from the event details page. The only exception is the lead contact, which stays pinned to the event.
That's fine. You can create the event without any venues and add them later once the client confirms their locations.
Yes. The event type can be updated at any point from the event details page. Changing the type won't affect any proposals or orders you've already created.
Events created from an enquiry show a link back to the original enquiry submission on the event details page, so you can always trace where it started.
## What's next?
Understand the stages an event moves through from draft to completion.
Build detailed, recipe-based quotes for your events.
View all your events and consultations on a calendar.
Set up online enquiry forms for your website.
## Starting a new event
You can create an event in two ways:
* **From the events dashboard** — click the **Create Event** button to start with a blank form.
* **From an enquiry form submission** — when a customer fills in your online enquiry form, their answers are carried over automatically. See [Converting Enquiries](/events/converting-enquiries) for the prefill flow and the Enquiry guide sidebar.
## Filling in the event details
Start typing a name to search your existing customers. If this is someone new, you can create a customer record right from the same screen without leaving the form.
Every event needs a **lead contact** — this is the main person you'll communicate with. You can also add additional contacts and label them by their role (bride, groom, parents, coordinator, or a custom label).
The lead contact is always pinned to the event and cannot be removed.
Add one or more venues for the event. For each venue, enter:
* **Venue name** (e.g. "St Mary's Church", "The Grand Hotel")
* **Address**
* **Guest count**
These venues become your delivery addresses later when you create orders, so it's worth getting the details right now.
Fill in the key information about the event:
* **Event type** — choose from your configured event types (e.g. Wedding, Funeral, Corporate). Custom types can be added in Settings.
* **Event date** and **time**. Tick **No specific time** if the timing isn't confirmed yet.
* **Payment due date** — auto-calculated a set number of weeks before the event (12 by default). Override it on this event if you need to, or change the default for every future event in **Settings > General**, under the **Events** group, using **Payment Due Weeks Before Event**. Changing that default needs the **Settings (Admin)** permission, which Admins have by default; your administrator can adjust who has it in [Settings > Team](/settings/team).
* **Season** — tag the event with a key seasonal moment (Christmas, Valentines, Mothers Day, Easter). This is a label for your own reference, and it prints on the event invoice. It does not adjust prices or check stock for you, so build any peak-season uplift into your quotation yourself. The [Apply percentage adjustment](/events/quotation-templates#yearly-price-updates) tool is the quickest way.
* **Event budget** — pick from preset ranges or choose **Custom** to enter a specific figure.
* **PO number** — an optional purchase order reference. If you add one, it appears on the event's invoices, which is handy for corporate or trade clients who need a PO on their paperwork.
Use the notes field to record anything from your conversations — style preferences, inspiration references, special requests, or important dates to remember.
Use the **Marketing** panel to track lead sources and partners:
* **How did you hear about us?** — a free-text source (e.g. Instagram, Google, Referral, Wedding Fair).
* **Suppliers** — other vendors working on the event (e.g. photographer, videographer) that you might partner with.
Once you've filled everything in, save the event. It will be created in **Draft** status, and any automations you've set up (like sending a welcome email or notifying your team) will fire automatically.
You don't have to fill in every field straight away. Create the event with the basics (customer, date, and event type), then come back to add venues, colour notes, and other details after your consultation.
## What happens after you create an event
Your new event starts in **Draft** status. From here you can:
* Move it through the event lifecycle as you consult, quote, and confirm
* Build a proposal with itemised pricing
* Schedule consultations and add them to your calendar
* Create orders when the event is confirmed
Any automation triggers you've configured will also run when the event is created, such as sending a confirmation email to the client or alerting a team member.
## Common questions
Yes. You can add, edit, or remove contacts and venues at any time from the event details page. The only exception is the lead contact, which stays pinned to the event.
That's fine. You can create the event without any venues and add them later once the client confirms their locations.
Yes. The event type can be updated at any point from the event details page. Changing the type won't affect any proposals or orders you've already created.
Events created from an enquiry show a link back to the original enquiry submission on the event details page, so you can always trace where it started.
## What's next?
Understand the stages an event moves through from draft to completion.
Build detailed, recipe-based quotes for your events.
View all your events and consultations on a calendar.
Set up online enquiry forms for your website.