

This page covers features gated by Admin-tier permissions — typically Settings access. Admins have these by default; your administrator can adjust who has them in Settings > Team.
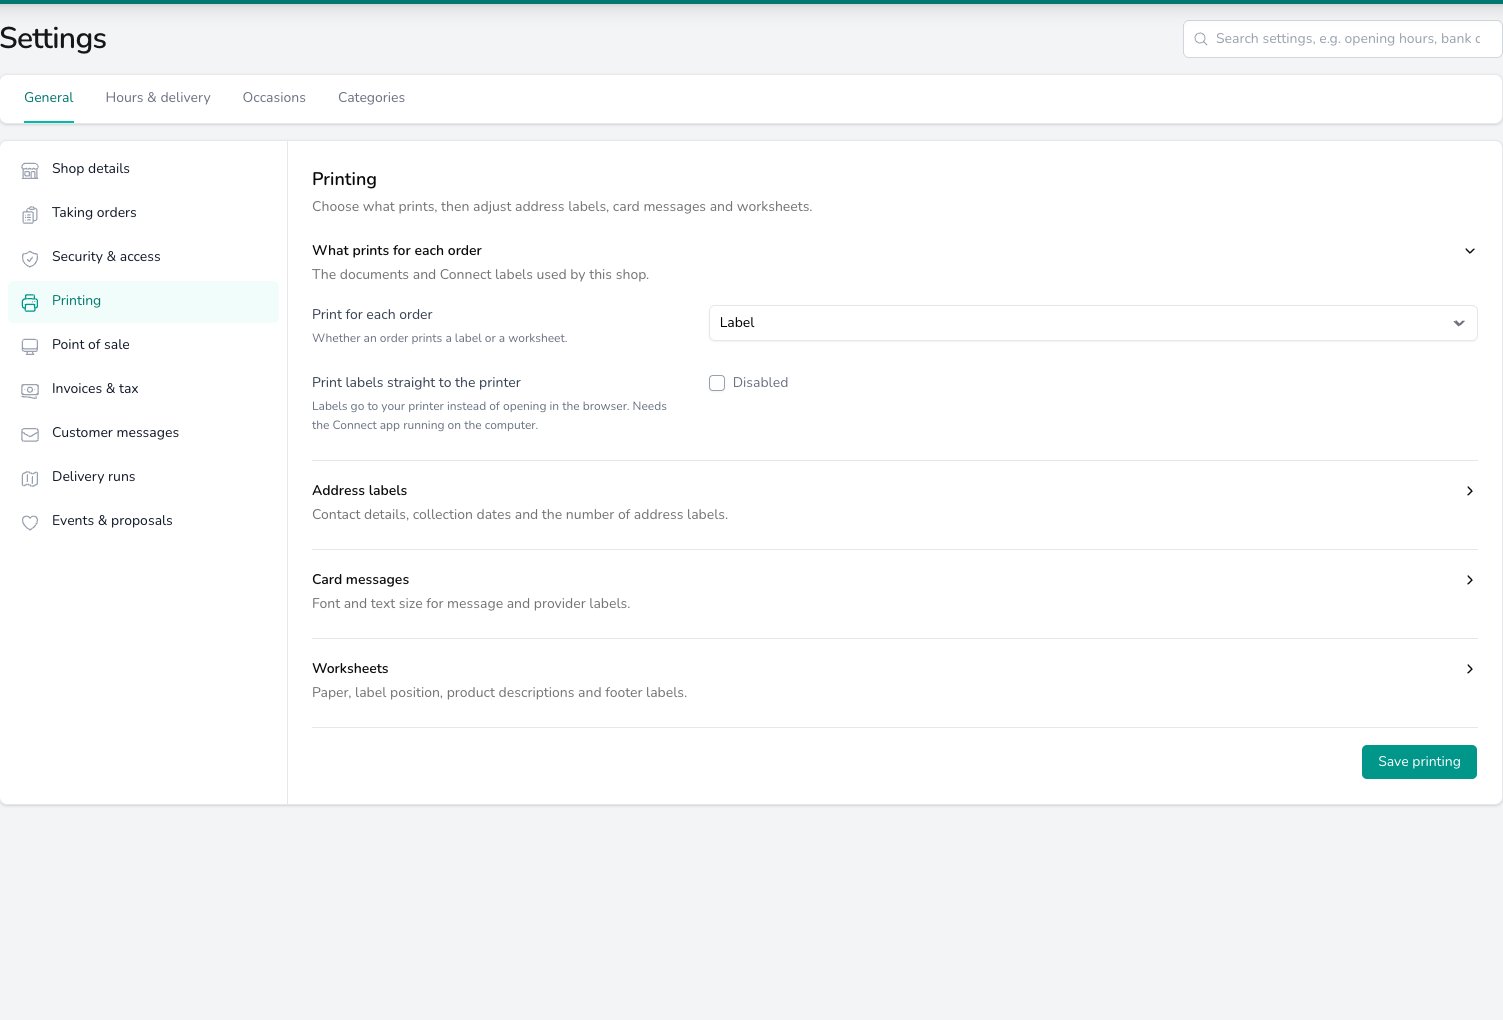
What prints for each order sits at the top and belongs to each shop; the address label, card message and worksheet sections below it are shared by all your shops.
What prints for each order
These two settings belong to each shop, so choose the shop in the Set per shop band first if you run more than one. Set Print for each order to Label or Worksheet to choose what the dashboard’s Print button produces. The dropdown beside the button offers the other one, so your team can still print a worksheet for a tricky order when labels are the default. See Printing from the dashboard. Switch on Print labels straight to the printer and labels go to your label printer instead of opening in a browser tab. It needs Digital Florists Connect running on that computer with a label printer set up. See Label printers for the printers that work and how to connect one.Address labels
Choose Address labels per order to set how many address labels an order prints. One label per product line is the default. One label per item unit prints one for every item, so three of the same bouquet give three labels. One label per order prints one however many items there are. When an order prints more than one label, each is numbered, such as 1 of 3, so a driver can check nothing has been left behind. Switch on Phone number on labels to print your shop phone number on each label. Switch on Shop details at the foot of address labels to add your address, phone number and website to the bottom of the label as well. Switch on Collection date on labels to show the collection date on address labels printed from the browser. Switch on Address labels only to skip the card message labels and print addresses alone.Card messages
Choose Label Message Font and Label Message Font Size to set the font and text size used for message labels. Address labels printed through Connect keep the standard layout whatever you choose here.Worksheets
Set Worksheet paper to the sheet your worksheets print on. Set Labels on worksheets to match where the labels sit on that sheet: Top, Bottom or Bottom courier. Print one test order before a batch, because label sheet brands differ slightly. See Configuring your worksheet style. Leave Product descriptions on worksheets on and each product’s description prints under its name. Switch it off if your worksheets are getting crowded. Choose Worksheet Footer Fonts and Worksheet Footer Font Size to set the font and text size of the labels at the foot of the worksheet. Switch on Date on worksheet footer labels to print the delivery or collection date on those labels too.Common questions
Labels open in a browser tab instead of printing
Labels open in a browser tab instead of printing
Switch on Print labels straight to the printer and make sure Connect is running on that computer with a label printer chosen. Without Connect, labels open in the browser for you to print from there.
Can each shop print differently?
Can each shop print differently?
What prints for each order belongs to each shop. Address labels, card messages and worksheets are shared by all your shops.
What’s next?
Devices
Register your tills and the printers attached to each one.
Connect printers
Receipt printers, label printers, cash drawers and scanners that work with Connect.
Disaster recovery
Download every label and worksheet for a day when your printing stops working.
Taking orders
How the order form behaves for your team.