

This page covers features gated by Admin-tier permissions — typically Settings access. Admins have these by default; your administrator can adjust who has them in Settings > Team.
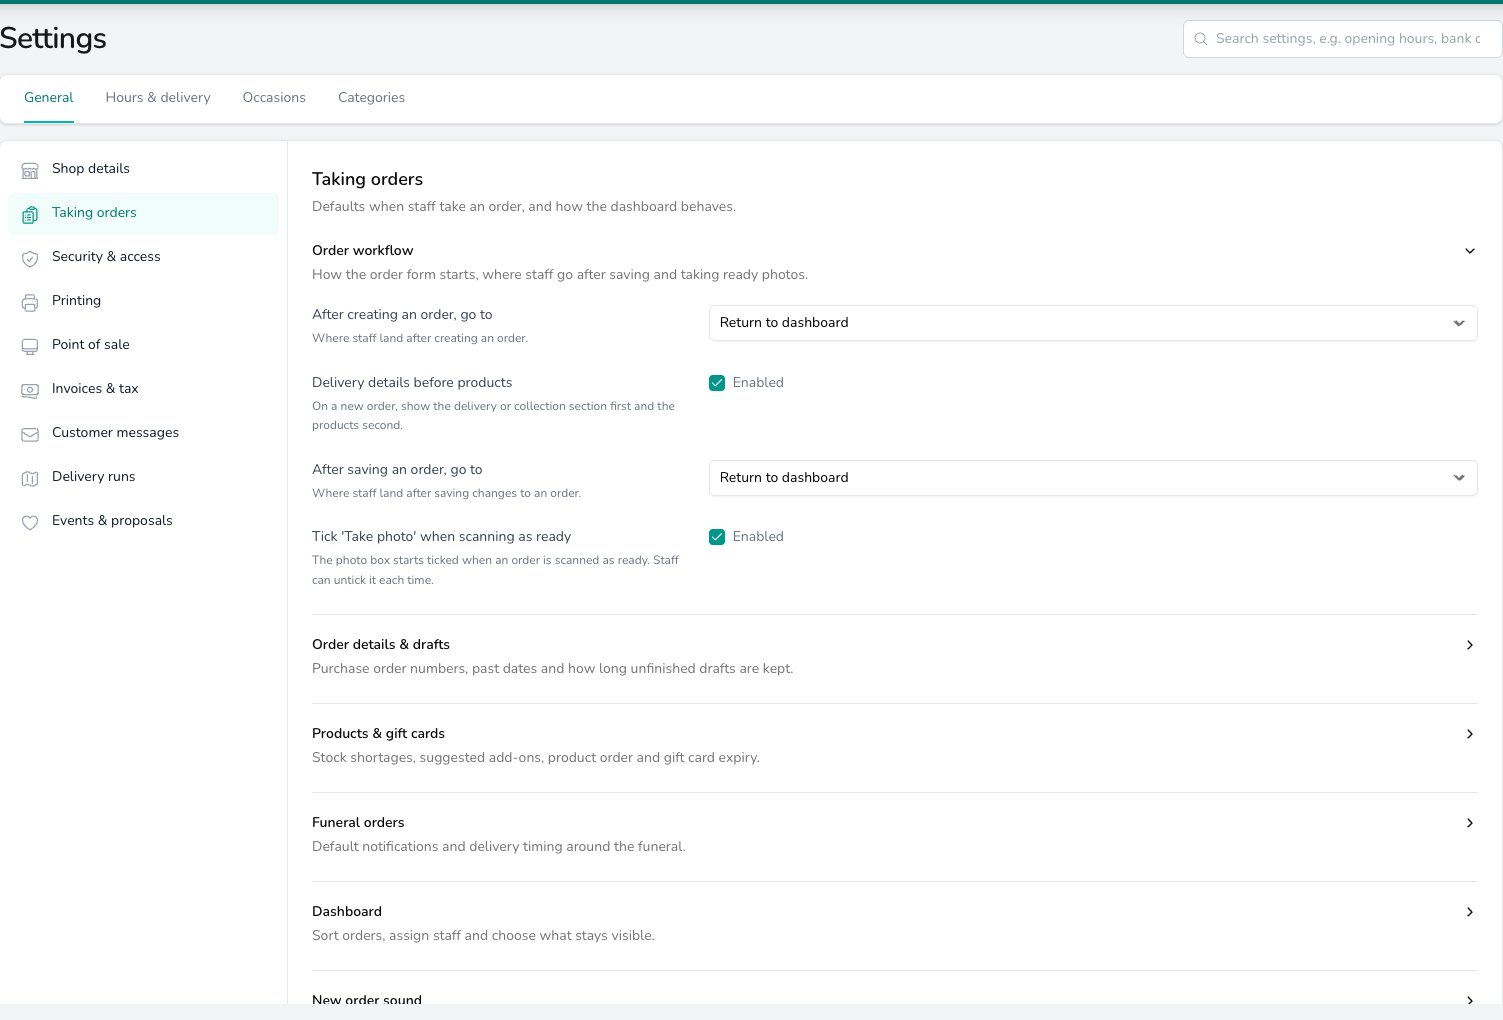
Taking orders holds the order-form defaults: where staff land after creating or saving an order, whether delivery details come before products, and the ready-photo prompt.
Order workflow
Switch on Delivery details before products and a new order asks for the delivery or collection details first, with the products underneath. Switch it off to start with the products. Set After creating an order, go to to choose where your team lands once a new order is saved. Return to dashboard takes them back to today’s list. Create another order opens a blank order form, which suits a phone shift. Set After saving an order, go to for changes to an existing order. Choose Return to dashboard or Open the saved order. Leave Tick ‘Take photo’ when scanning as ready on and the photo box starts ticked whenever an order is scanned as ready. Your team can untick it on the day.Order details & drafts
Switch on Purchase order number on every order and your team can type a purchase order number on any order, not only orders on account. Switch on Allow past dates on new orders to let your team pick a delivery or collection date that has already passed. Use it for an order taken in person and written up afterwards. Type a number into Draft orders expire after (days) to set how long an unfinished draft is kept before it is removed. It starts at 7 days. See Saving a draft for how drafts work.Products & gift cards
When tracked stock runs short
Pick what happens when your team adds a product that is short on tracked stock. Save the order and flag a stock issue lets the order through and marks it for someone to look at. Block staff saves when tracked stock is short stops the order saving until the stock or the order changes. Orders from your website are saved and flagged whichever you choose. See Inventory for how stock is tracked.Add-ons category
Pick an Add-ons category to offer extras while your team builds an order. Once the first item goes onto a new order, the Select Product screen opens on that category, so a vase, chocolates or a balloon is one tap away. It works the same on the order form and at the till. The prompt appears once, while a new order is being built. It doesn’t appear when your team reopens a saved order. Leave the setting on Do not offer add-ons and no prompt appears at all. Any of your product categories can be the add-ons category. See Product categories if you need to set one up first.If you delete the category you picked, the setting warns you that the saved category has been removed. No add-ons are offered until you choose another one or turn add-ons off.
Product order
Choose a Product order to set how products are listed on the till and in the product picker. The with numbers choices sort names that contain numbers in counting order, so a range numbered 1 to 12 stays in sequence.Gift cards expire after (days)
Type a number into Gift cards expire after (days) to set how long a gift card stays valid from the day it is sold. It starts at 365 days. See Gift cards for selling and redeeming them.Funeral orders
Switch on Funeral orders start with notifications off and customer notifications are unticked by default on a funeral order. Your team can tick them on the order if the family wants them. A funeral order normally works its delivery date and time out from the funeral time. Switch on Don’t set the delivery time from the funeral time to keep the date and time your team types instead. Set Funeral cut-off time to decide which day a funeral order goes out. It starts at 11:30. A funeral before this time is delivered the day before at 5pm. A funeral at or after it is delivered the same day, two hours before the service.Dashboard
Choose Order of jobs on the dashboard to set how today’s orders are sorted before anyone clicks a column. Curated puts the most urgent work first. The other choices sort by when the order was placed or by its delivery date or time. See Sorting your orders for what your team sees. Switch on Assign orders to staff to assign each order to a team member from the dashboard. Switch on Assign orders to the product’s designer as well and an order whose product names a designer is assigned to that team member automatically. Switch on Keep finished orders on the dashboard and finished orders stay at the bottom of today’s list until someone hides them. Switch on One line per order on the dashboard to show each order’s items on a single line instead of stacked.New order sound
Switch on Notification sound and this shop’s computers play a sound when a new order or message arrives. The sound belongs to each shop, so choose the shop in the Set per shop band first if you run more than one.Common questions
Where do I set whether new orders start confirmed?
Where do I set whether new orders start confirmed?
Under Services offered on Booking rules, on the Hours & delivery tab. Each shop chooses for itself, so it sits with the other per-shop rules.
Why doesn't the add-ons prompt appear when I edit an order?
Why doesn't the add-ons prompt appear when I edit an order?
It only appears while a new order is being built, after the first item goes on. Reopening a saved order doesn’t show it.
Do these settings apply to every shop?
Do these settings apply to every shop?
Yes, apart from New order sound, which each shop sets for itself. If you run more than one shop, switch shop in the Set per shop band to change it.
What’s next?
Printing
Choose whether each order prints a label or a worksheet.
Booking rules
Notice, daily limits, services offered and what a new order starts as.
Create an Order
See these defaults in action as you take an order.
Your dashboard
Sorting, assigning and printing from today’s list.