

This page covers features gated by Admin-tier permissions — typically Settings access. Admins have these by default; your administrator can adjust who has them in Settings > Team.
Your shops
Go to Settings > General > Shop details and click Manage shops. Each shop carries a Name, which is what your team sees in the shop picker and on reports, and an Address, which is used for delivery distances and printed on receipts and invoices. Shop addresses follow the same rule as customer addresses on addresses without a postcode.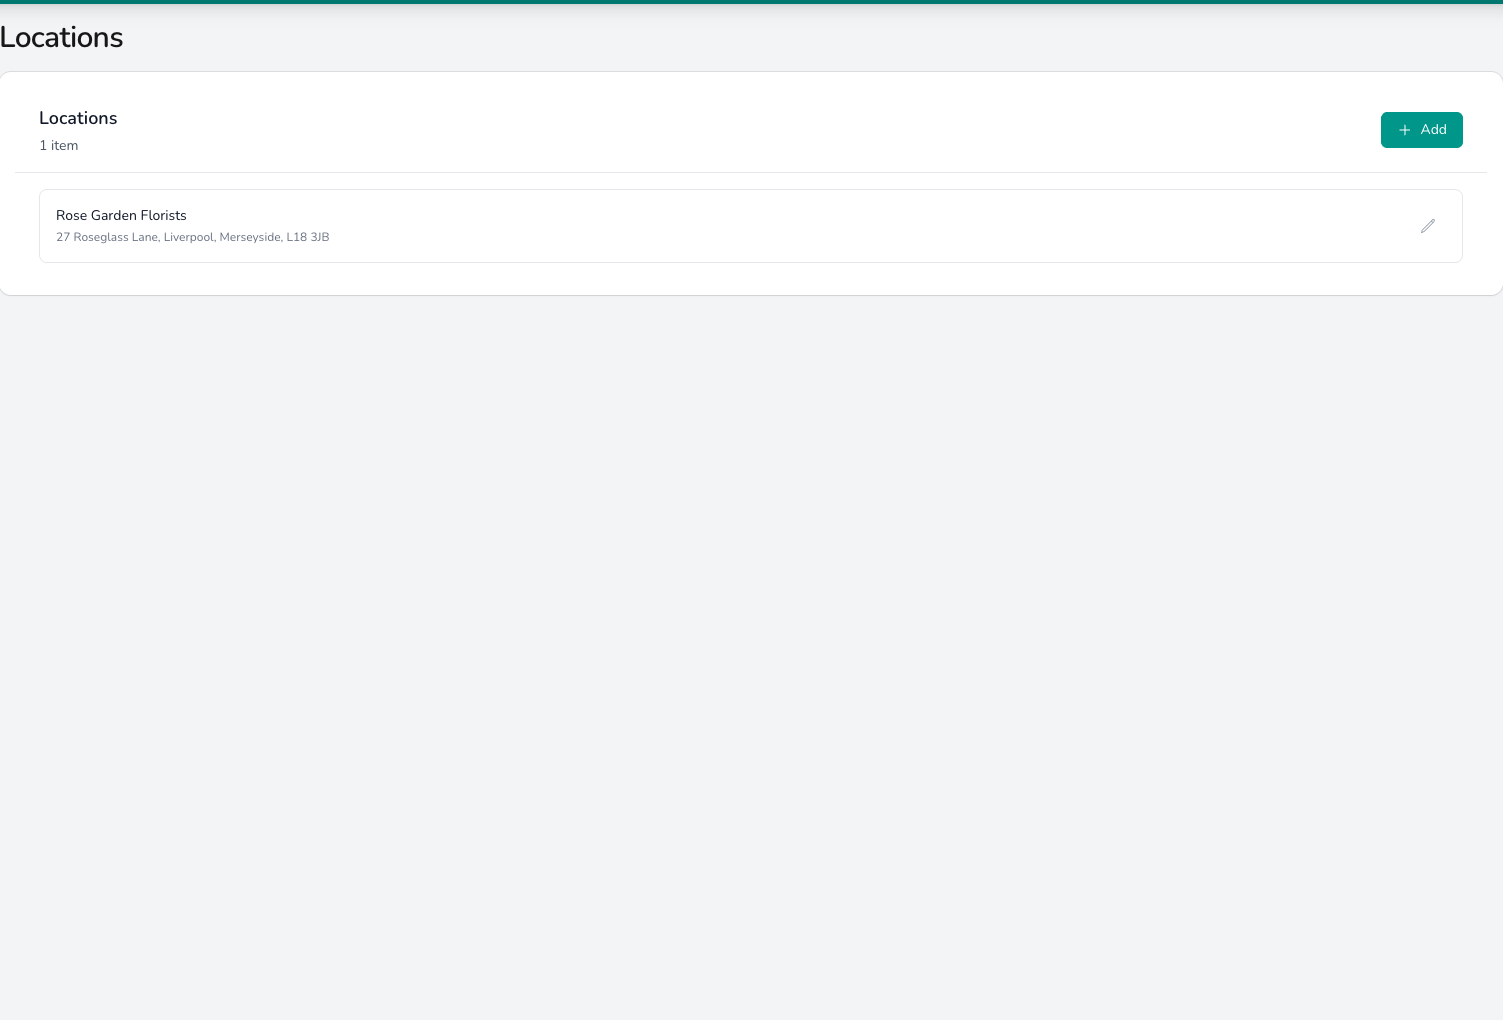
Locations lists each shop with its address. Most florists have one; click Add to create another.
Digital Florists creates a first shop called Store when your instance is set up. Most florists run the whole business from that one and only need to update its details.
Adding another shop
Click Add on the same screen and give the new shop a name and address. If your plan’s included shops are already in use, the screen tells you when you save, and support will sort the extra licence and the reporting split with you. Your plan’s included shops are listed under Settings > About.What each shop sets for itself
Most settings are shared by every shop. The ones below belong to the shop, and you pick which shop you are editing with the buttons at the top of the Set per shop band.
Once you have one shop set up the way you want it, save its settings, then click Copy operating policies… under the Set per shop band and tick the shops to copy to. Shop details, tax and printing setup stay with each shop.
Working across several shops
Give each shop its own location so its devices, till sessions and reporting separate cleanly. Staff who work across shops switch between them from the shop picker in the top bar, and you decide who reaches which shop on their team profile. See Team for how location access works.Common questions
Can a team member work across multiple locations?
Can a team member work across multiple locations?
Yes. Assign them to as many locations as you need from their team profile. The shop picker in the top bar lets them switch between the ones they have access to.
Do orders move between locations?
Do orders move between locations?
Yes. Open the order, choose Change Location from its actions, pick the new shop and click Move order. Tick the option to move its transaction as well if the payment should count towards the new shop’s accounts.
Where do I set a shop's opening hours and delivery charges?
Where do I set a shop's opening hours and delivery charges?
On the Hours & delivery tab of Settings > General. Pick the shop in the Set per shop band, then open the group you need. Start with Opening hours.
Why can't I set the timezone or currency for one shop?
Why can't I set the timezone or currency for one shop?
Time zone, currency, country and distances are set once for the whole instance under Settings > General > Shop details > Regional, and they apply to every shop.
What’s next?
Team
Add team members and assign them to locations.
Opening hours
Weekly hours and closed days for each shop, the first page of the Hours & delivery tab.